Thunder Mailer is a professional mass email software that can be easily installed. You do not require any advanced knowledge in installing and even setting up this program.
Once installed, you will be able to immediately start managing your email listings, creating email campaigns and monitoring the campaign results. It works on various Windows operating systems like Windows 2000, Windows 7, Windows Server 2003, Windows Server 2008, Windows Vista and Windows XP. You only pay a one-time payment. There is no setup or monthly fees for the software. Neither do you pay extra fees when your recipient list grows bigger as it supports huge list sizes! Basically unlimited number of emails!
Thunder Mailer is installed onto your computer or laptop. It’s a desktop application. This means that you have access to it anytime regardless of whether you are connected to the Internet or not. Imagine being able to spring-clean your recipients or drafting out your emails while on a plane.
However, do note that you may be charged certain fees by your SMTP service provider if you select a premium SMTP provider. Also, note that you need to be connected to the Internet when sending out emails.
How To Install ThunderMailer
Installing Thunder Mailer, as mentioned earlier, is very simple. For the free version, just head over to the secure download page and enter your email address. You will then be able to download the software for free. If you are happy with the software, you can then upgrade it. Once you have made the payment, you will receive a License Key.
If you have an earlier version of Thunder Mailer, do uninstall this previous version before you install the updated version. You can easily do so via the Windows Control Panel.
Step 1: Run Thunder Mailer setup.exe
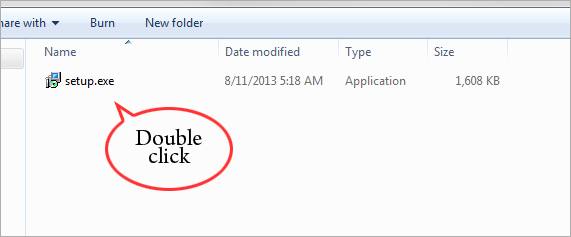
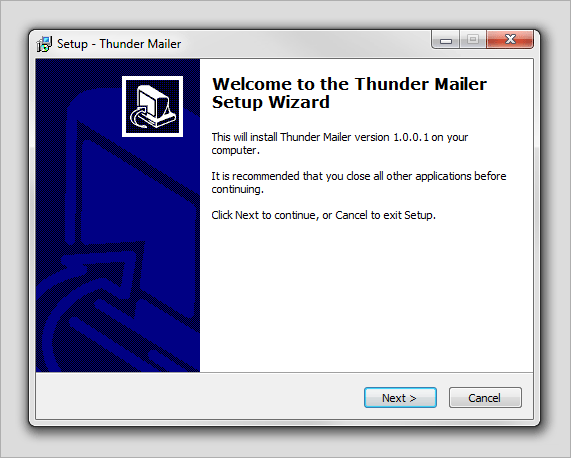
Double click on the setup file and you will activate the setup wizard. Click Next and you are ready to start installing Thunder Mailer.
Step 2: Select Destination Location
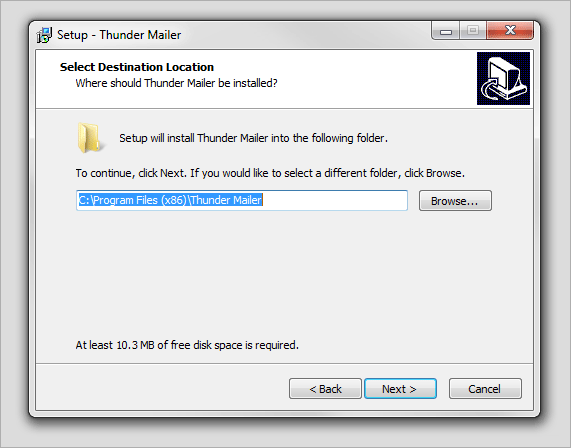
By default, the setup wizard will install into your Program Files (x86). For most people, this is where all their program files are located.
However, if you wish to place the program file elsewhere, do click on Browse and select the destination you have in mind.
Click Next.
Step 3: Select Start Menu Folder
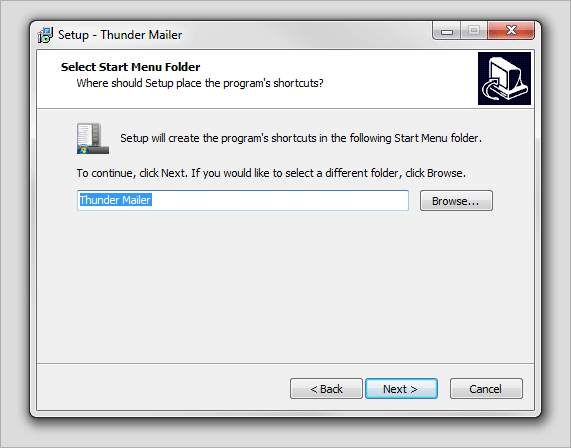
The setup wizard will then request for the program to be installed in the newly created “Thunder Mailer” folder. This folder will also appear in your Start Menu. Again, if you would like the program to be in another folder, click on Browse and select your folder.
Click Next.
Step 4: Select Additional Tasks
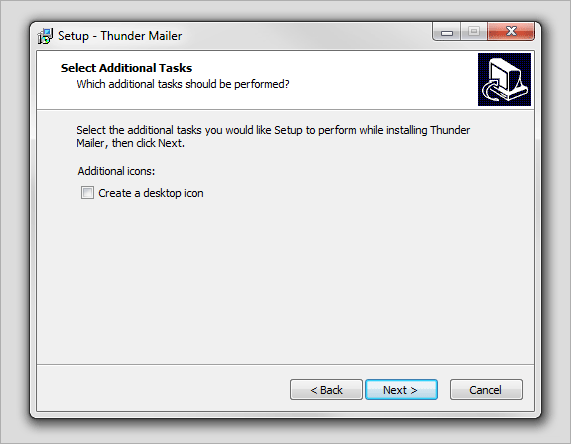
You are almost done now. Here, you can choose to create a shortcut on your desktop. If you like to have a desktop icon, please check on “Create a desktop icon”.
If you prefer to keep your desktop clean, you can leave this option unchecked. You already have a shortcut on your Start Menu so you will still be able to access Thunder Mailer easily.
Click Next.
Step 5: Ready to Install
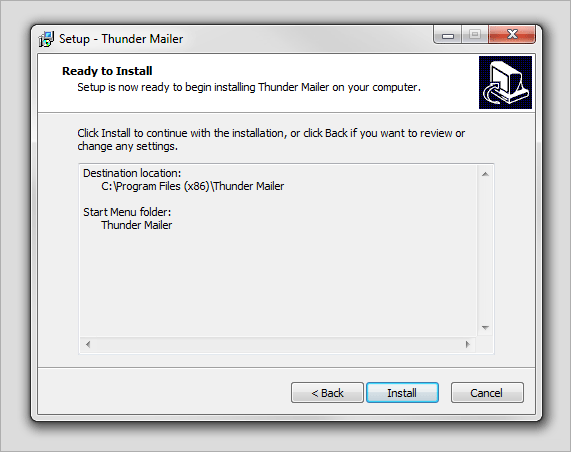
Now, you are all set to install the program. Double check on the Destination Location and the Start Menu folder details and if satisfied, click Install.
(If you would like to make any changes, click Back and make the necessary changes.)
Step 6: Launch Thunder Mailer
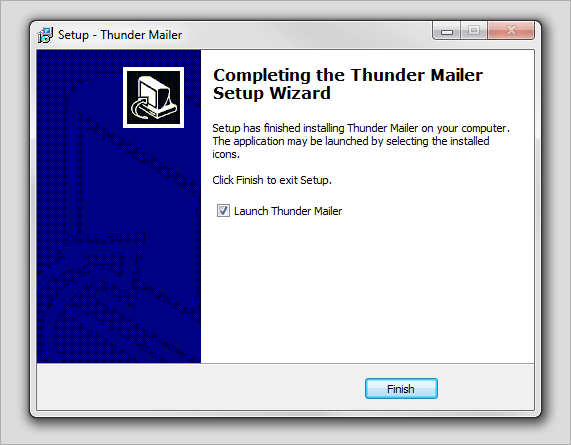
Congrats! You have successfully installed Thunder Mailer.
If you would like to proceed to run Thunder Mailer immediately, leave the check mark on “Launch Thunder Mailer” and click Finish.
If you would like to come back later to start managing your mass email campaigns, uncheck the box and click Finish.
